Http To Https Free Through CloudeFlare – A Complete Hack
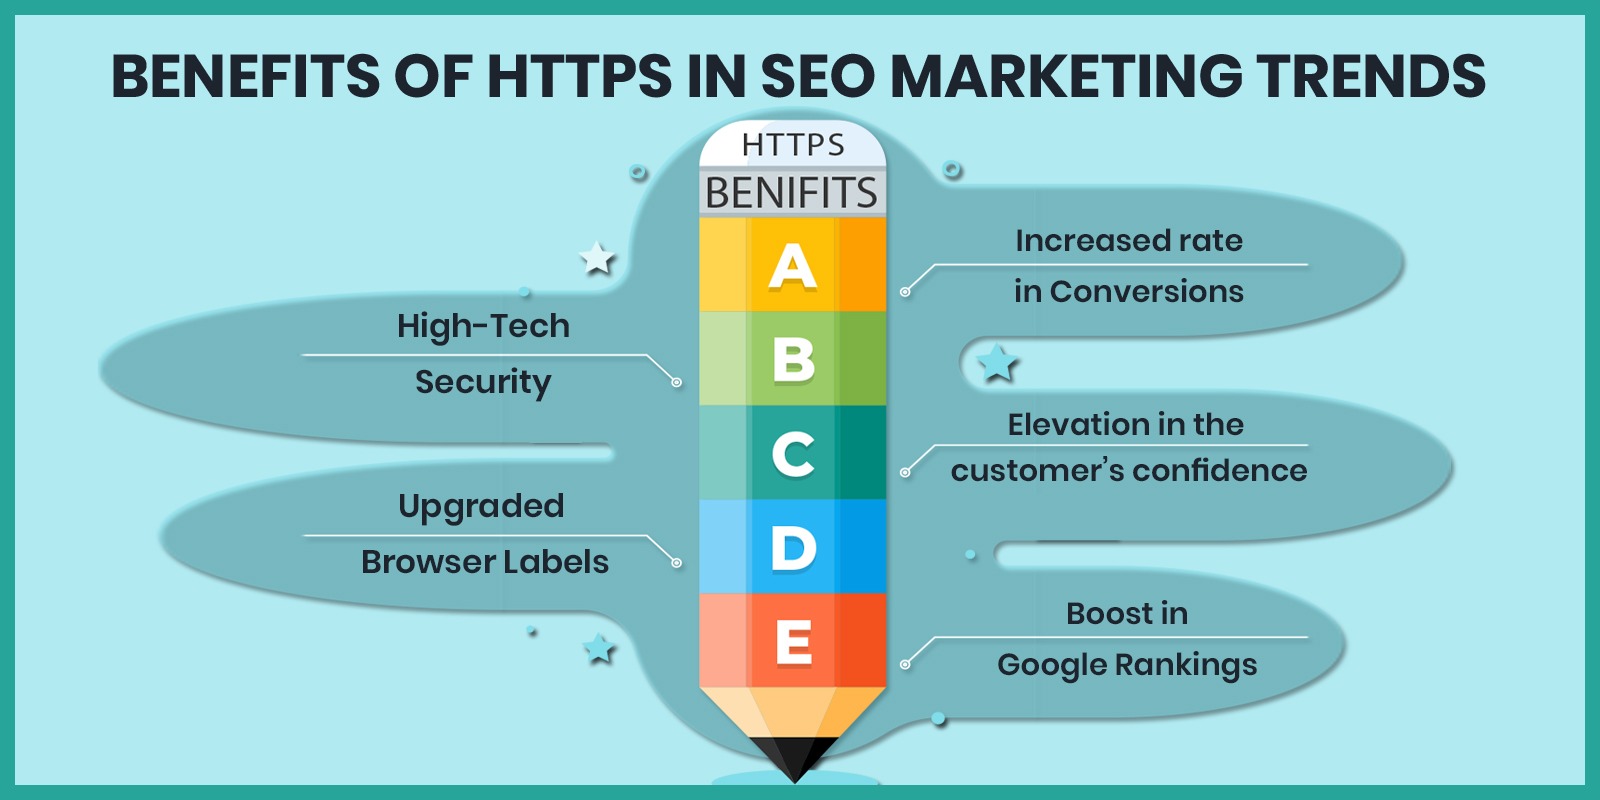
HTTPS is a must for every website nowadays: when providing their details, users are looking for a padlock; Chrome and Firefox explicitly mark websites that provide forms on pages without HTTPS as non-safe; it is an SEO ranking factor, and it has a serious impact on privacy in general.

Why HTTPS Matters For Every Website
A common misconception about HTTPS is that only websites that handle sensitive data such as e-commerce websites, social media sites or any website with user logins are relevant. This is because, in the past, the main use of HTTPS was for financial transfers or other sensitive communications.
The mentality, though, has shifted and we are beginning to see its use on all sorts of websites. But many still believe it’s unnecessary to introduce HTTPS on their web, because it’s “just a blog,” or because they don’t gather user data.
This is no longer an age where merely sticking to plain HTTP on your website can get free. Aside from the fact that you are obliged to give your users security, the web is moving towards a time when HTTPS becomes non-negotiable for all websites.
HTTPS Provides Confidentiality
In a public medium such as the Internet, this protects communication between two parties from others. For example, when someone using the access point buys something online without HTTPS, someone operating a Wi-Fi access point could see private information, such as credit cards.
Switching from HTTP to HTTPS has been made so easy with Cloudflare. Read further to know-how.
Why Cloudflare?
Whatever server-side infrastructure you have, CloudFlare can help you secure an SSL certificate for free. It also functions with websites that are hosted on networks that don’t provide access to servers like GitHub Pages, Ghost and the like.
You don’t have to update anything or write code at all. It makes installing HTTPS on your website a really great option, and startup time will take no longer than 10 minutes, basically.
It also provides a number of other protection and efficiency incentives for your website that we will not discuss here. But we are going to talk a little about how it all works so you can get a good idea of how all those stuff can be done.
How Cloudflare Works
Cloudflare sits right in the middle of traffic between your website and server visitors. Visitors might be regular humans, crawlers, and bots (like search engine bots) or hackers. Cloudflare helps strip out all unauthorized content by serving as an intermediary between your web server and visitors to your site so that only the good stuff gets in.

Now you may wonder if everything that could have an adverse effect on your website’s pace, but it’s quite the contrary. Cloudflare has data centers around the world so it’ll just use the visitor’s closest gateway to make the site even smoother than it used to be.
Step By Step Guide To Switch From HTTP To HTTPS
Now that we know how Cloudflare operates, let’s take a look at how to set up a website on its network, and how to get free on HTTPS. The emphasis here will be on the apps that Cloudflare delivers for free, but remember that there are also premium options with a lot of additional features available.
1. Buying A Domain Name
The first thing to do after you sign up at Cloudflare is to add a domain and check the DNS information. Buy the domain on namecheap.com. You can use them for all your domains because they have a great user interface, they have lightning-fast response rates from their support team and their prices are almost always the lowest. What else could you ask for?
Once the search is completed, all DNS records will be listed on the domain. You will pick the sub-domains you want to allow on Cloudflare and make any desired changes.
2. Getting SSL For Free
SSL is still a premium service and significant amounts are charged by many Certificate Authorities before issuing an SSL certificate. It’s not something you can just get everywhere for free, but in the industry that’s changing rapidly.
Now that you have Cloudflare seated in the middle of your web traffic, you should automatically get SSL on your domain. It can take up to 24 hours to get the credential working but it doesn’t take long in my experience.
If you see more information about the cert you will see the authority that issued the certificate and the date of expiry. One of CloudFlare’s great things is that certificate renewal is done automatically for you so no worries there.
3. Generating A CSR
A CSR is a signature order for credentials and is necessary to trigger the newly purchased SSL certificate. There are a couple of steps for generating the CSR. At the end of this, you will receive a text file to copy the content and paste it back into the dashboard for Namecheap.
Generate a private key in your terminal window using the OpenSSL command. If you don’t have an OpenSSL already, you can update it with your operating system instructions in one minute. You must also join something called the “common name” Use your website’s root domain (not a subdomain).
4. Activating The SSL Certificate
This step is usually done back in Namecheap. Go to Account -> Product List, and you will view your SSL certificate inactive in that list. Go through the authorization process steps and fill in the details you are seeking. The contents of that server.csr text file created in the previous step will need to be pasted in. Once you paste that, Namecheap will infer the name of the root (which you entered in step #3 as the common name), and ask you to fill in up to 2 more domains. Then add “www.your domain.com” to that register. Choose to have the certificate sent to you by telephone, then finalize the activation.
5. Updating The DNS Records On CloudFlare
You now need to sign in to Cloudflare and change the DNS records to connect to the DNS server in Heroku. You need 2 records with CNAME: one for the central domain and one for the subdomain within the WWW.
The name of the CNAME root domain record should be your domain.com.herokudns.com.
The CNAME record of the WWW subdomain should be: www.sideprojectaccelerator.com.herokudns.com
6. Enforce HTTPS
The last step is to ensure that your site strictly enforces HTTPS and does not allow users to search through an unsecured link with any sites. First go to Crypto-> and update your SSL level to “Full (strict).”
Finally, go to Page Rules > Add a rule. You must add a rule which forces each page to redirect to HTTPS. Only use format: http://your_domain.com* and pick
“Always use HTTPS.”
With this, you have got yourself a shiny new HTTPS website.
Portfolio
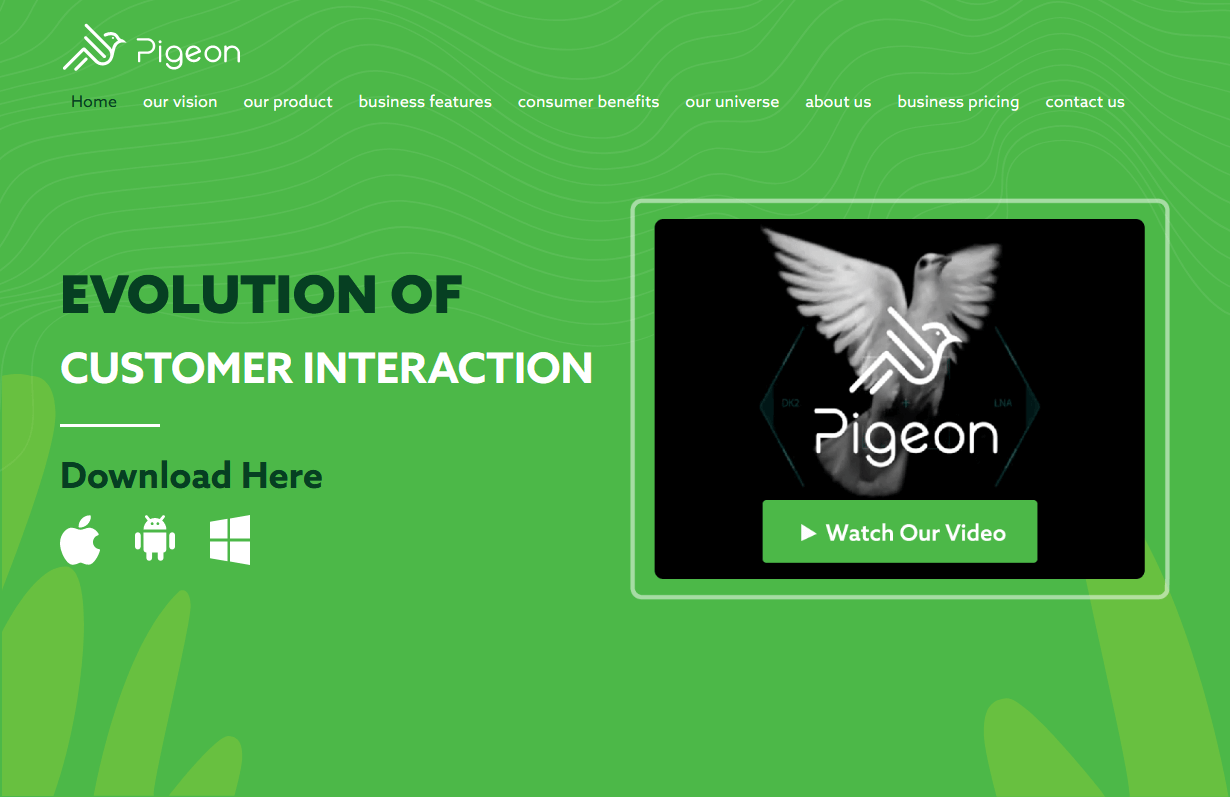
Get Pigeon
CMS, Graphic design, Responsive, Mobile friendly, SEO and PPC.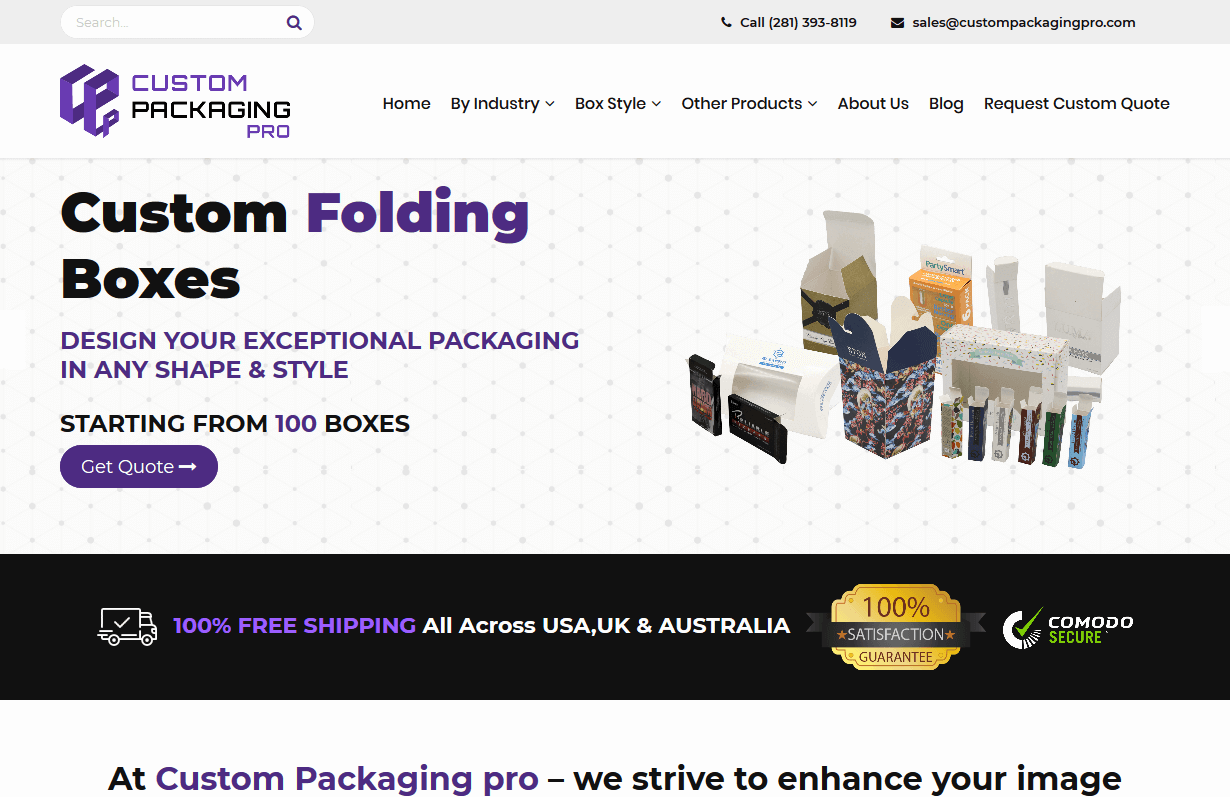
Custom Packaging Pro
CMS, Graphic design, Responsive, Mobile friendly, SEO and PPC.
AGM Electrical Supplies
CMS, Graphic design, Responsive, Mobile friendly, SEO and PPC.
Queensway Real Estate
CMS, Graphic design, Responsive, Mobile friendly, SEO and PPC.
Farm Dynamics Pakistan
CMS, Graphic design, Responsive, Mobile friendly, SEO and PPC.
Signs R Us
CMS, Graphic design, Responsive, Mobile friendly, SEO and PPC.
Sky Property
CMS, Graphic design, Responsive, Mobile friendly, SEO and PPC.
Kona Kratom
CMS, Graphic design, Responsive, Mobile friendly, SEO and PPC.
Torch Office System
CMS, Graphic design, Responsive, Mobile friendly, SEO and PPC.
Superclamp
CMS, Graphic design, Responsive, Mobile friendly, SEO and PPC.
Squeeze Media
CMS, Graphic design, Responsive, Mobile friendly, SEO and PPC.
Kratom Crazy
CMS, Graphic design, Responsive, Mobile friendly, SEO and PPC.
Urbanity
CMS, Graphic design, Responsive, Mobile friendly, SEO and PPC.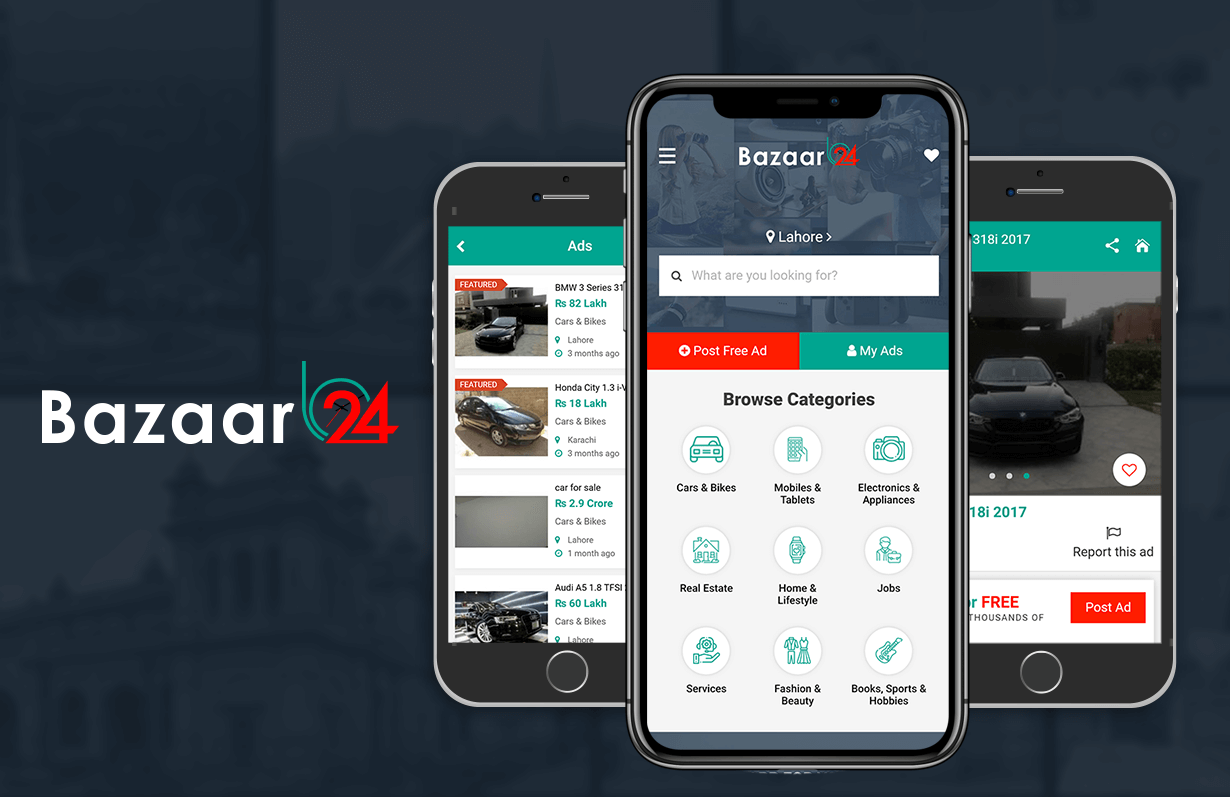
Bazaar 24 - Mobile App
Hybrid App with Web based control panel. Android and iOS versions. Push Notifications and lot of other features.
Cabana Boy Resort Wear
CMS, Graphic design, Responsive, Mobile friendly, SEO and PPC.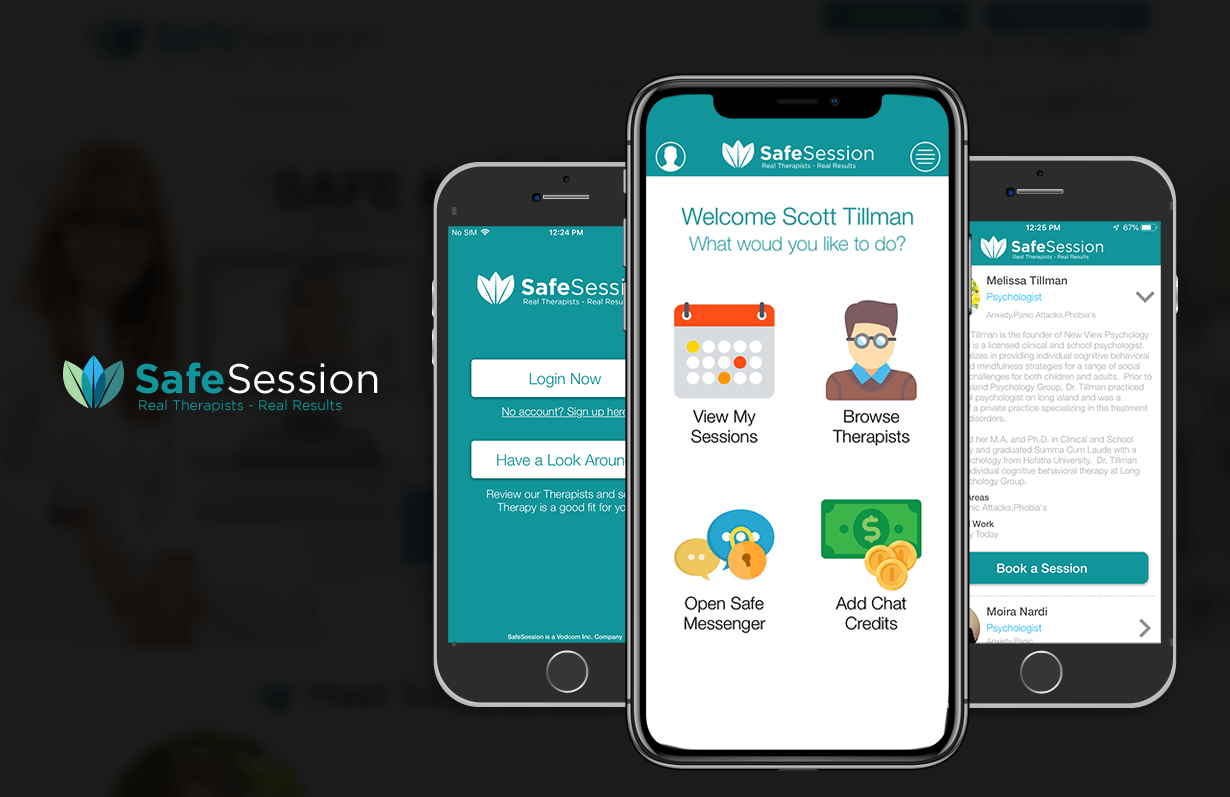
SafeSession - Mobile App
Hybrid App with Web based control panel. Android and iOS versions. Push Notifications and lot of other features.
Koolsun
CMS, Graphic design, Responsive, Mobile friendly, SEO and PPC.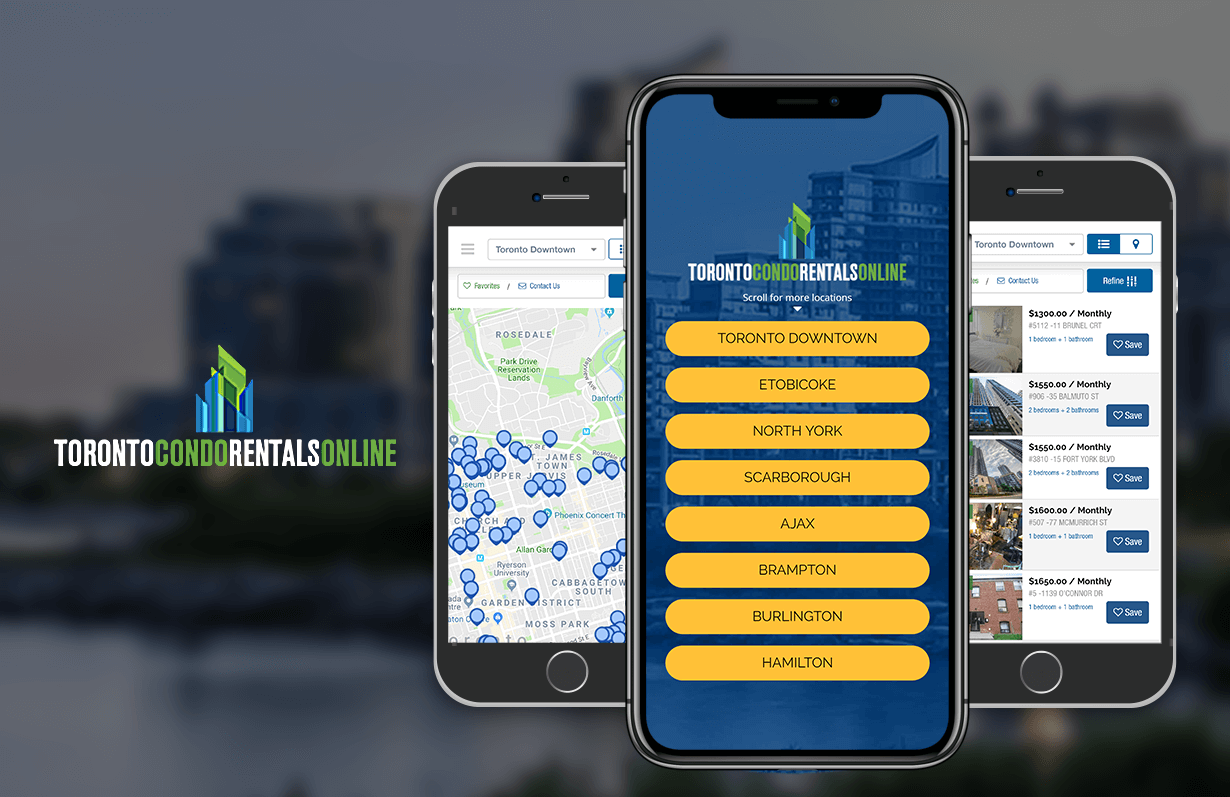
Toronto Condo Rentals Online - Mobile App
Hybrid App with Web based control panel. Android and iOS versions. Push Notifications and lot of other features.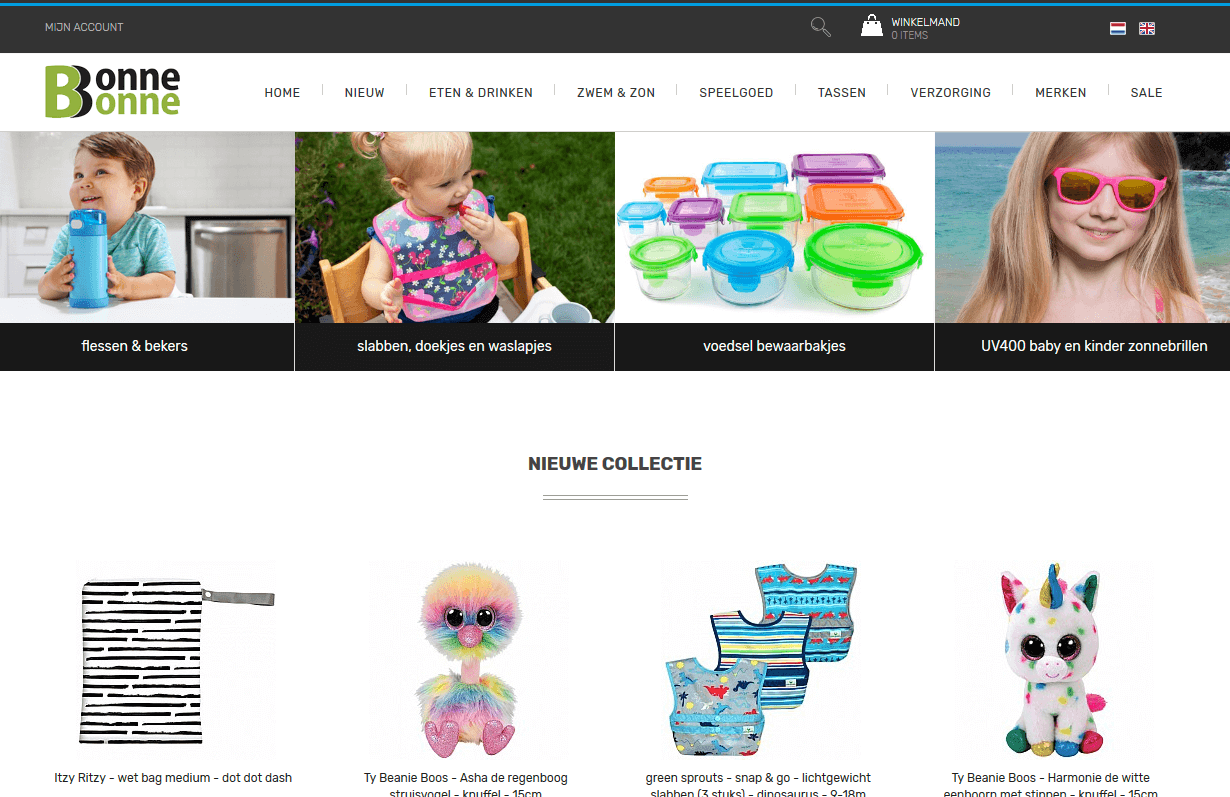
Bonnebonne
CMS, Graphic design, Responsive, Mobile friendly, SEO and PPC.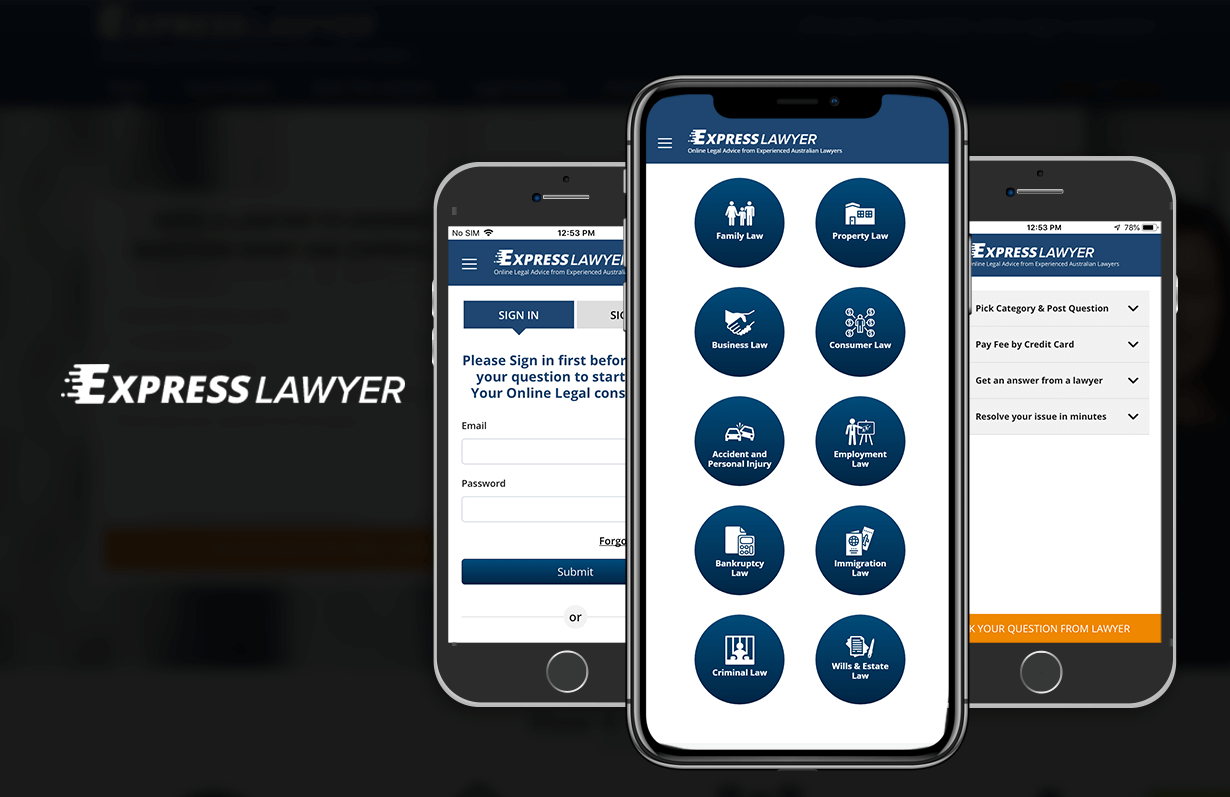
Express Lawyer - Mobile App
Hybrid App with Web based control panel. Android and iOS versions. Push Notifications and lot of other features.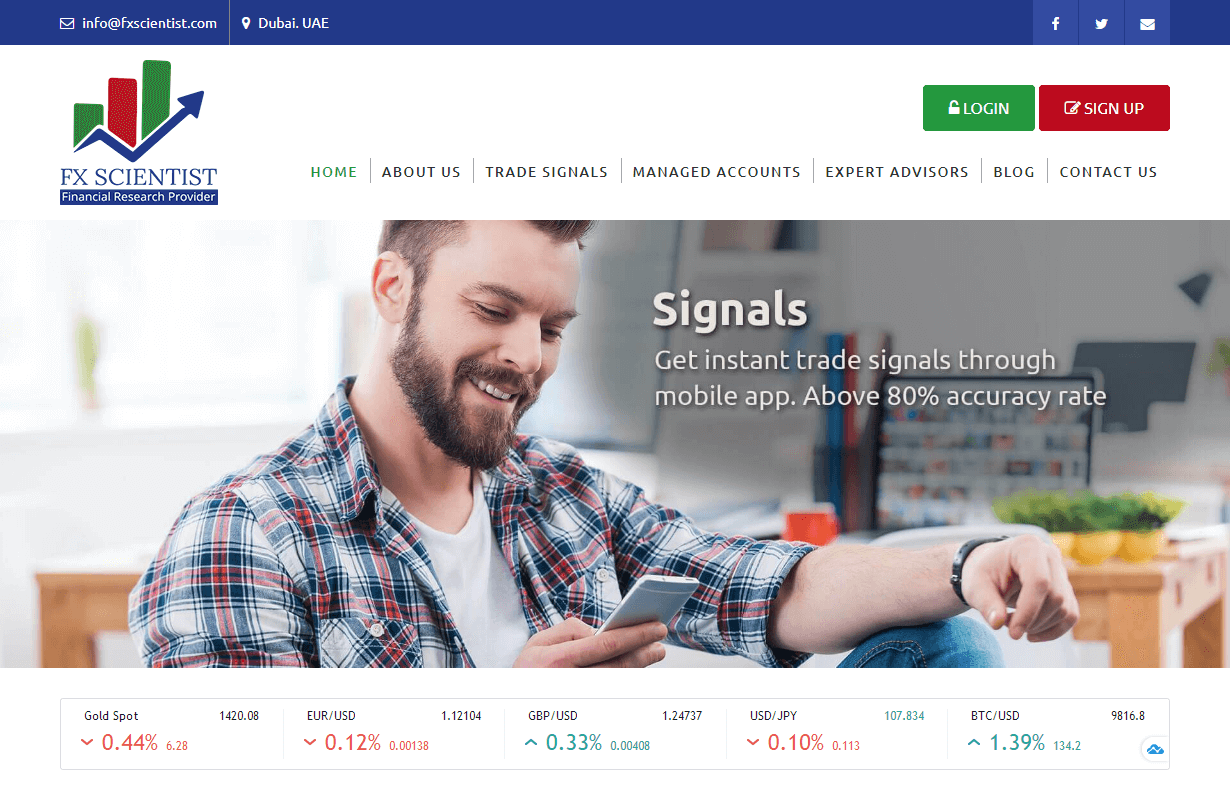
FX Scientist
CMS, Graphic design, Responsive, Mobile friendly, SEO and PPC.
Heavenly Hemp Flower
CMS, Graphic design, Responsive, Mobile friendly, SEO and PPC.
Kapra Cart
CMS, Graphic design, Responsive, Mobile friendly, SEO and PPC.
Life’s Good Smoke
CMS, Graphic design, Responsive, Mobile friendly, SEO and PPC.
Bath Master
CMS, Graphic design, Responsive, Mobile friendly, SEO and PPC.
Sky CBD
CMS, Graphic design, Responsive, Mobile friendly, SEO and PPC.
Dream CBD
CMS, Graphic design, Responsive, Mobile friendly, SEO and PPC.
We Dream CBD
CMS, Graphic design, Responsive, Mobile friendly, SEO and PPC.
Precision Chems
CMS, Graphic design, Responsive, Mobile friendly, SEO and PPC.
Casemaker
CMS, Graphic design, Responsive, Mobile friendly, SEO and PPC.
GTA Heating and Air
CMS, Graphic design, Responsive, Mobile friendly, SEO and PPC.
Cheetah Yard Signs
CMS, Graphic design, Responsive, Mobile friendly, SEO and PPC.
Better Life Science
CMS, Graphic design, Responsive, Mobile friendly, SEO and PPC.
RSVP Bridal & Formal Wear
CMS, Graphic design, Responsive, Mobile friendly, SEO and PPC.
Smurfettes Cleaning Service
CMS, Graphic design, Responsive, Mobile friendly, SEO and PPC.
Skytouch Flooring
CMS, Graphic design, Responsive, Mobile friendly, SEO and PPC.
Home Serve Inc
CMS, Graphic design, Responsive, Mobile friendly, SEO and PPC.
ASF Handyman
CMS, Graphic design, Responsive, Mobile friendly, SEO and PPC.
FundFi
CMS, Graphic design, Responsive, Mobile friendly, SEO and PPC.
Dr Aesthetics and Beauty
CMS, Graphic design, Responsive, Mobile friendly, SEO and PPC.
Sebastian Terry
CMS, Graphic design, Responsive, Mobile friendly, SEO and PPC.
Ontario Glass Showers
CMS, Graphic design, Responsive, Mobile friendly, SEO and PPC.
Lichtman Law
CMS, Graphic design, Responsive, Mobile friendly, SEO and PPC.
Caledon House Renovation
CMS, Graphic design, Responsive, Mobile friendly, SEO and PPC.
Pure Life H2O
CMS, Graphic design, Responsive, Mobile friendly, SEO and PPC.
Cabinet Paint Master
CMS, Graphic design, Responsive, Mobile friendly, SEO and PPC.
Canada Chems
CMS, Graphic design, Responsive, Mobile friendly, SEO and PPC.
Register Car Online
CMS, Graphic design, Responsive, Mobile friendly, SEO and PPC.
Coreone NV
CMS, Graphic design, Responsive, Mobile friendly, SEO and PPC.
Socium Capital
CMS, Graphic design, Responsive, Mobile friendly, SEO and PPC.
Starlight Kratom
CMS, Graphic design, Responsive, Mobile friendly, SEO and PPC.
Serenity CBD
CMS, Graphic design, Responsive, Mobile friendly, SEO and PPC.
Rosie Windows & Doors
CMS, Graphic design, Responsive, Mobile friendly, SEO and PPC.
Organic Kratom USA
CMS, Graphic design, Responsive, Mobile friendly, SEO and PPC.
Diamond Shelters
CMS, Graphic design, Responsive, Mobile friendly, SEO and PPC.
Slo Kratom
CMS, Graphic design, Responsive, Mobile friendly, SEO and PPC.
Mighty Fine Roofing
CMS, Graphic design, Responsive, Mobile friendly, SEO and PPC.
Gnobi Consulting Inc
CMS, Graphic design, Responsive, Mobile friendly, SEO and PPC.
Optimum Handling Solutions
CMS, Graphic design, Responsive, Mobile friendly, SEO and PPC.
Anna Murphy
CMS, Graphic design, Responsive, Mobile friendly, SEO and PPC.
Connect My Home
CMS, Graphic design, Responsive, Mobile friendly, SEO and PPC.
We Fix It Appliances
CMS, Graphic design, Responsive, Mobile friendly, SEO and PPC.
Advanced Design Innovations
CMS, Graphic design, Responsive, Mobile friendly, SEO and PPC.
Grand Valley Mechanical
CMS, Graphic design, Responsive, Mobile friendly, SEO and PPC.
Super Plumbing and Heating
CMS, Graphic design, Responsive, Mobile friendly, SEO and PPC.
Brandon Heating and Plumbing
CMS, Graphic design, Responsive, Mobile friendly, SEO and PPC.
Capital J
CMS, Graphic design, Responsive, Mobile friendly, SEO and PPC.
AnyTime Garage Doors
CMS, Graphic design, Responsive, Mobile friendly, SEO and PPC.
Leak Masters Canada
CMS, Graphic design, Responsive, Mobile friendly, SEO and PPC.
Poly-Mor
CMS, Graphic design, Responsive, Mobile friendly, SEO and PPC.
The PMT Group
CMS, Graphic design, Responsive, Mobile friendly, SEO and PPC.
Bright View Landscapes
CMS, Graphic design, Responsive, Mobile friendly, SEO and PPC.
Sarah Justason
CMS, Graphic design, Responsive, Mobile friendly, SEO and PPC.
Cube Bin Rentals
CMS, Graphic design, Responsive, Mobile friendly, SEO and PPC.
Kurt's Appliance Repair
CMS, Graphic design, Responsive, Mobile friendly, SEO and PPC.
Lube Stop & Tire
CMS, Graphic design, Responsive, Mobile friendly, SEO and PPC.
Memorial Custom Homes
CMS, Graphic design, Responsive, Mobile friendly, SEO and PPC.
Delta Labs Official
CMS, Graphic design, Responsive, Mobile friendly, SEO and PPC.
Business Plus Numbers
CMS, Graphic design, Responsive, Mobile friendly, SEO and PPC.
SVR Law Firm
CMS, Graphic design, Responsive, Mobile friendly, SEO and PPC.
Virmago
CMS, Graphic design, Responsive, Mobile friendly, SEO and PPC.
Focus On Flooring
CMS, Graphic design, Responsive, Mobile friendly, SEO and PPC.
Safe Ways Recruitment
CMS, Graphic design, Responsive, Mobile friendly, SEO and PPC.
Noble Gallery Antiques
CMS, Graphic design, Responsive, Mobile friendly, SEO and PPC.
Big Daddy Smoke
CMS, Graphic design, Responsive, Mobile friendly, SEO and PPC.
Quick Box
CMS, Graphic design, Responsive, Mobile friendly, SEO and PPC.
Immigration Canada Legal
CMS, Graphic design, Responsive, Mobile friendly, SEO and PPC.
LuckyLeaf Hemp
CMS, Graphic design, Responsive, Mobile friendly, SEO and PPC.
Supreme Restoration
CMS, Graphic design, Responsive, Mobile friendly, SEO and PPC.
The Clinic At Beverly Hills
CMS, Graphic design, Responsive, Mobile friendly, SEO and PPC.
Continental Mortgage
CMS, Graphic design, Responsive, Mobile friendly, SEO and PPC.
Affordable Hauling
CMS, Graphic design, Responsive, Mobile friendly, SEO and PPC.
WGB Gifts
CMS, Graphic design, Responsive, Mobile friendly, SEO and PPC.
The Cutting Boards
CMS, Graphic design, Responsive, Mobile friendly, SEO and PPC.
The Plough Inn
CMS, Graphic design, Responsive, Mobile friendly, SEO and PPC.
Department Group
CMS, Graphic design, Responsive, Mobile friendly, SEO and PPC.
Natasha Gabrielle Lee
CMS, Graphic design, Responsive, Mobile friendly, SEO and PPC.
Prudence Kate
CMS, Graphic design, Responsive, Mobile friendly, SEO and PPC.
Dakota Products Of Canada
CMS, Graphic design, Responsive, Mobile friendly, SEO and PPC.
Vitrerie Starlight
CMS, Graphic design, Responsive, Mobile friendly, SEO and PPC.
Lumberjack Tree Service
CMS, Graphic design, Responsive, Mobile friendly, SEO and PPC.
1st Priority Medical
CMS, Graphic design, Responsive, Mobile friendly, SEO and PPC.
JM Home Renovations
CMS, Graphic design, Responsive, Mobile friendly, SEO and PPC.
Cascade Power Sports
CMS, Graphic design, Responsive, Mobile friendly, SEO and PPC.
Rehab Guide
CMS, Graphic design, Responsive, Mobile friendly, SEO and PPC.
Gumdrop
CMS, Graphic design, Responsive, Mobile friendly, SEO and PPC.
Big Bear Kratom
CMS, Graphic design, Responsive, Mobile friendly, SEO and PPC.
VIP Kratom
CMS, Graphic design, Responsive, Mobile friendly, SEO and PPC.
Star Kratom
CMS, Graphic design, Responsive, Mobile friendly, SEO and PPC.
Buy Kratom
CMS, Graphic design, Responsive, Mobile friendly, SEO and PPC.
Hemp Flower Boutique
CMS, Graphic design, Responsive, Mobile friendly, SEO and PPC.
Bionetic Solutions
CMS, Graphic design, Responsive, Mobile friendly, SEO and PPC.
Doughty Masonry
CMS, Graphic design, Responsive, Mobile friendly, SEO and PPC.
DAATS
CMS, Graphic design, Responsive, Mobile friendly, SEO and PPC.
Flex Debt
CMS, Graphic design, Responsive, Mobile friendly, SEO and PPC.
Aaluminum
CMS, Graphic design, Responsive, Mobile friendly, SEO and PPC.
BDA Water Sports
CMS, Graphic design, Responsive, Mobile friendly, SEO and PPC.
Skin Studio Toronto
CMS, Graphic design, Responsive, Mobile friendly, SEO and PPC.
Shore-Con
CMS, Graphic design, Responsive, Mobile friendly, SEO and PPC.
Procast Consulting
CMS, Graphic design, Responsive, Mobile friendly, SEO and PPC.
The Mold Guy
CMS, Graphic design, Responsive, Mobile friendly, SEO and PPC.
M3 Design Group
CMS, Graphic design, Responsive, Mobile friendly, SEO and PPC.
Personal Injury Lawyers
CMS, Graphic design, Responsive, Mobile friendly, SEO and PPC.
All County Waste
CMS, Graphic design, Responsive, Mobile friendly, SEO and PPC.
Gulf Insurance & Reinsurance Brokers Co.
CMS, Graphic design, Responsive, Mobile friendly, SEO and PPC.
Every Angle Roofing
CMS, Graphic design, Responsive, Mobile friendly, SEO and PPC.
Wholesale Channel Letters
CMS, Graphic design, Responsive, Mobile friendly, SEO and PPC.
Wisco Capital
CMS, Graphic design, Responsive, Mobile friendly, SEO and PPC.
CAI The ATM Company
CMS, Graphic design, Responsive, Mobile friendly, SEO and PPC.
Executive Log Cabin
CMS, Graphic design, Responsive, Mobile friendly, SEO and PPC.
Walnut Artisan
CMS, Graphic design, Responsive, Mobile friendly, SEO and PPC.
Coral Bay
CMS, Graphic design, Responsive, Mobile friendly, SEO and PPC.
Colorado Breeders Depot
CMS, Graphic design, Responsive, Mobile friendly, SEO and PPC.
Home Health Services
CMS, Graphic design, Responsive, Mobile friendly, SEO and PPC.
San Antonio Outdoor Living
CMS, Graphic design, Responsive, Mobile friendly, SEO and PPC.
Hanson's Funeral Home
CMS, Graphic design, Responsive, Mobile friendly, SEO and PPC.
Pay Less Kitchens
CMS, Graphic design, Responsive, Mobile friendly, SEO and PPC.
Hemp Tree CBD
CMS, Graphic design, Responsive, Mobile friendly, SEO and PPC.
Innova Doors LTD
CMS, Graphic design, Responsive, Mobile friendly, SEO and PPC.
Straga Products
CMS, Graphic design, Responsive, Mobile friendly, SEO and PPC.
PCM PAK Limited
CMS, Graphic design, Responsive, Mobile friendly, SEO and PPC.
Kleencut Solutions
CMS, Graphic design, Responsive, Mobile friendly, SEO and PPC.
Barcode Graphics
CMS, Graphic design, Responsive, Mobile friendly, SEO and PPC.
Marcy Segal
CMS, Graphic design, Responsive, Mobile friendly, SEO and PPC.
UpMaid MFG
CMS, Graphic design, Responsive, Mobile friendly, SEO and PPC.
UpMaid
CMS, Graphic design, Responsive, Mobile friendly, SEO and PPC.
Transcendent Roofing
CMS, Graphic design, Responsive, Mobile friendly, SEO and PPC.
Scarlett Financial
CMS, Graphic design, Responsive, Mobile friendly, SEO and PPC.
One Fin
CMS, Graphic design, Responsive, Mobile friendly, SEO and PPC.
Drakon Construction
CMS, Graphic design, Responsive, Mobile friendly, SEO and PPC.
Cirrus Screens
CMS, Graphic design, Responsive, Mobile friendly, SEO and PPC.
Casket Depot
CMS, Graphic design, Responsive, Mobile friendly, SEO and PPC.
Archer Speciality Coffee
CMS, Graphic design, Responsive, Mobile friendly, SEO and PPC.
B2B Commercial Cleaning
CMS, Graphic design, Responsive, Mobile friendly, SEO and PPC.
Laeco
CMS, Graphic design, Responsive, Mobile friendly, SEO and PPC.
Vero Mechanical
CMS, Graphic design, Responsive, Mobile friendly, SEO and PPC.
FukedUp
CMS, Graphic design, Responsive, Mobile friendly, SEO and PPC.
Merchantful
CMS, Graphic design, Responsive, Mobile friendly, SEO and PPC.
Improve Aire
CMS, Graphic design, Responsive, Mobile friendly, SEO and PPC.
Click Pro Appliance Repair
CMS, Graphic design, Responsive, Mobile friendly, SEO and PPC.
Delta 8 Detour
CMS, Graphic design, Responsive, Mobile friendly, SEO and PPC.
Shark Processing
CMS, Graphic design, Responsive, Mobile friendly, SEO and PPC.
Casa Cuba
CMS, Graphic design, Responsive, Mobile friendly, SEO and PPC.
Shophoppers
CMS, Graphic design, Responsive, Mobile friendly, SEO and PPC.
ASF Clean Team
CMS, Graphic design, Responsive, Mobile friendly, SEO and PPC.
Lustre Light Therapy Lounge
CMS, Graphic design, Responsive, Mobile friendly, SEO and PPC.
Intel Recruitment
CMS, Graphic design, Responsive, Mobile friendly, SEO and PPC.
Elev8 Treatment Center
CMS, Graphic design, Responsive, Mobile friendly, SEO and PPC.
8 Delta 8
CMS, Graphic design, Responsive, Mobile friendly, SEO and PPC.
Pure Hemp Farms
CMS, Graphic design, Responsive, Mobile friendly, SEO and PPC.
Organic Healing Tree
CMS, Graphic design, Responsive, Mobile friendly, SEO and PPC.
Sabana Windows
CMS, Graphic design, Responsive, Mobile friendly, SEO and PPC.
Saving Plumbing
CMS, Graphic design, Responsive, Mobile friendly, SEO and PPC.
Toronto Viking Repair
CMS, Graphic design, Responsive, Mobile friendly, SEO and PPC.
JB Design And Build
CMS, Graphic design, Responsive, Mobile friendly, SEO and PPC.
Event 2 Event
CMS, Graphic design, Responsive, Mobile friendly, SEO and PPC.
Blue Commercial
CMS, Graphic design, Responsive, Mobile friendly, SEO and PPC.
North Wind
CMS, Graphic design, Responsive, Mobile friendly, SEO and PPC.
Neuberger & Partners LLP
CMS, Graphic design, Responsive, Mobile friendly, SEO and PPC.
King's Cross Group Inc.
CMS, Graphic design, Responsive, Mobile friendly, SEO and PPC.
Resume Professionals
CMS, Graphic design, Responsive, Mobile friendly, SEO and PPC.
Premium Door Systems
CMS, Graphic design, Responsive, Mobile friendly, SEO and PPC.
Macs Truck Wash
CMS, Graphic design, Responsive, Mobile friendly, SEO and PPC.
Zen Apartments
CMS, Graphic design, Responsive, Mobile friendly, SEO and PPC.
Roof Revival
CMS, Graphic design, Responsive, Mobile friendly, SEO and PPC.
Sold Toronto Homes
CMS, Graphic design, Responsive, Mobile friendly, SEO and PPC.
Wow Cosmetic Boxes
CMS, Graphic design, Responsive, Mobile friendly, SEO and PPC.
Hamels Meat Market
CMS, Graphic design, Responsive, Mobile friendly, SEO and PPC.
Rhino Fencing
CMS, Graphic design, Responsive, Mobile friendly, SEO and PPC.
Kelford Industrial Sales
CMS, Graphic design, Responsive, Mobile friendly, SEO and PPC.Trans Canada Engraving
CMS, Graphic design, Responsive, Mobile friendly, SEO and PPC.
Encore Trucking
CMS, Graphic design, Responsive, Mobile friendly, SEO and PPC.
Sim Home
CMS, Graphic design, Responsive, Mobile friendly, SEO and PPC.
Voiceover Artist Directory
CMS, Graphic design, Responsive, Mobile friendly, SEO and PPC.
Orenda Pulverizers
CMS, Graphic design, Responsive, Mobile friendly, SEO and PPC.
Windsor Realty Express
CMS, Graphic design, Responsive, Mobile friendly, SEO and PPC.
Mamaison Montreal
CMS, Graphic design, Responsive, Mobile friendly, SEO and PPC.
Toronto Condo Rentals Online
CMS, Graphic design, Responsive, Mobile friendly, SEO and PPC.
That Pilates Passion
CMS, Graphic design, Responsive, Mobile friendly, SEO and PPC.
Hayden Real Estate
CMS, Graphic design, Responsive, Mobile friendly, SEO and PPC.
Finding Yoki
CMS, Graphic design, Responsive, Mobile friendly, SEO and PPC.
VIP Toronto Condos
CMS, Graphic design, Responsive, Mobile friendly, SEO and PPC.
Sarina Flooring
CMS, Graphic design, Responsive, Mobile friendly, SEO and PPC.
FroPro
CMS, Graphic design, Responsive, Mobile friendly, SEO and PPC.
Boss Peptides
CMS, Graphic design, Responsive, Mobile friendly, SEO and PPC.
Columbia Limozn Service
CMS, Graphic design, Responsive, Mobile friendly, SEO and PPC.
Actinera
CMS, Graphic design, Responsive, Mobile friendly, SEO and PPC.
Burj Al Falah
CMS, Graphic design, Responsive, Mobile friendly, SEO and PPC.
Jujube
CMS, Graphic design, Responsive, Mobile friendly, SEO and PPC.
CNC Warehouse
CMS, Graphic design, Responsive, Mobile friendly, SEO and PPC.
Tusk Gallery
CMS, Graphic design, Responsive, Mobile friendly, SEO and PPC.
Fast Cash Capital
CMS, Graphic design, Responsive, Mobile friendly, SEO and PPC.
Wild Cats 46
CMS, Graphic design, Responsive, Mobile friendly, SEO and PPC.
Computation
CMS, Graphic design, Responsive, Mobile friendly, SEO and PPC.
Onstar Windows Doors
CMS, Graphic design, Responsive, Mobile friendly, SEO and PPC.
Davenports Auto Parts
CMS, Graphic design, Responsive, Mobile friendly, SEO and PPC.
Infinity Staffing
CMS, Graphic design, Responsive, Mobile friendly, SEO and PPC.
DB Finest Home
CMS, Graphic design, Responsive, Mobile friendly, SEO and PPC.
Orchid Tobacco
CMS, Graphic design, Responsive, Mobile friendly, SEO and PPC.
Forand Remodeling
CMS, Graphic design, Responsive, Mobile friendly, SEO and PPC.
Kingswood Roofing Company
CMS, Graphic design, Responsive, Mobile friendly, SEO and PPC.
Winnipeg Cowry
CMS, Graphic design, Responsive, Mobile friendly, SEO and PPC.
Gunnar Optiks
CMS, Graphic design, Responsive, Mobile friendly, SEO and PPC.
Alliance Floor Source
CMS, Graphic design, Responsive, Mobile friendly, SEO and PPC.
Running W Meats
CMS, Graphic design, Responsive, Mobile friendly, SEO and PPC.
Greenway Turf
CMS, Graphic design, Responsive, Mobile friendly, SEO and PPC.
LaunchPad
CMS, Graphic design, Responsive, Mobile friendly, SEO and PPC.
IHF - Print & Packaging Design
Innobaby
CMS, Graphic design, Responsive, Mobile friendly, SEO and PPC.
Luna Outdoor Lighting
CMS, Graphic design, Responsive, Mobile friendly, SEO and PPC.
Holovision
CMS, Graphic design, Responsive, Mobile friendly, SEO and PPC.
EcoReduce
CMS, Graphic design, Responsive, Mobile friendly, SEO and PPC.
Prime Construction Specialists
CMS, Graphic design, Responsive, Mobile friendly, SEO and PPC.
Organic Prime
CMS, Graphic design, Responsive, Mobile friendly, SEO and PPC.
Treescut
CMS, Graphic design, Responsive, Mobile friendly, SEO and PPC.
Decorative Window Film
CMS, Graphic design, Responsive, Mobile friendly, SEO and PPC.
The Storage Place
CMS, Graphic design, Responsive, Mobile friendly, SEO and PPC.
Collier Berry Art
CMS, Graphic design, Responsive, Mobile friendly, SEO and PPC.
Mississauga Furnished Apartments
CMS, Graphic design, Responsive, Mobile friendly, SEO and PPC.
In & Out Steamers
CMS, Graphic design, Responsive, Mobile friendly, SEO and PPC.
Laser Medical Clinic
CMS, Graphic design, Responsive, Mobile friendly, SEO and PPC.
Artscope
CMS, Graphic design, Responsive, Mobile friendly, SEO and PPC.
Lo-Rez
CMS, Graphic design, Responsive, Mobile friendly, SEO and PPC.
Amazing Domains
CMS, Graphic design, Responsive, Mobile friendly, SEO and PPC.
Best Mortgages Montreal
CMS, Graphic design, Responsive, Mobile friendly, SEO and PPC.
Rhinoplasty Surgeon
CMS, Graphic design, Responsive, Mobile friendly, SEO and PPC.
Connexion Dental Group
CMS, Graphic design, Responsive, Mobile friendly, SEO and PPC.
Authentic Window
CMS, Graphic design, Responsive, Mobile friendly, SEO and PPC.
International Teachers Plus
CMS, Graphic design, Responsive, Mobile friendly, SEO and PPC.
Krylaw
CMS, Graphic design, Responsive, Mobile friendly, SEO and PPC.
Drew McGukin Interiors
CMS, Graphic design, Responsive, Mobile friendly, SEO and PPC.
Pot Navi
CMS, Graphic design, Responsive, Mobile friendly, SEO and PPC.
Tri State Stone
CMS, Graphic design, Responsive, Mobile friendly, SEO and PPC.
Bagels
CMS, Graphic design, Responsive, Mobile friendly, SEO and PPC.
Emirates Coast
CMS, Graphic design, Responsive, Mobile friendly, SEO and PPC.
Rapid Imports
CMS, Graphic design, Responsive, Mobile friendly, SEO and PPC.
Voice Jockeys
CMS, Graphic design, Responsive, Mobile friendly, SEO and PPC.
Classic Villas
CMS, Graphic design, Responsive, Mobile friendly, SEO and PPC.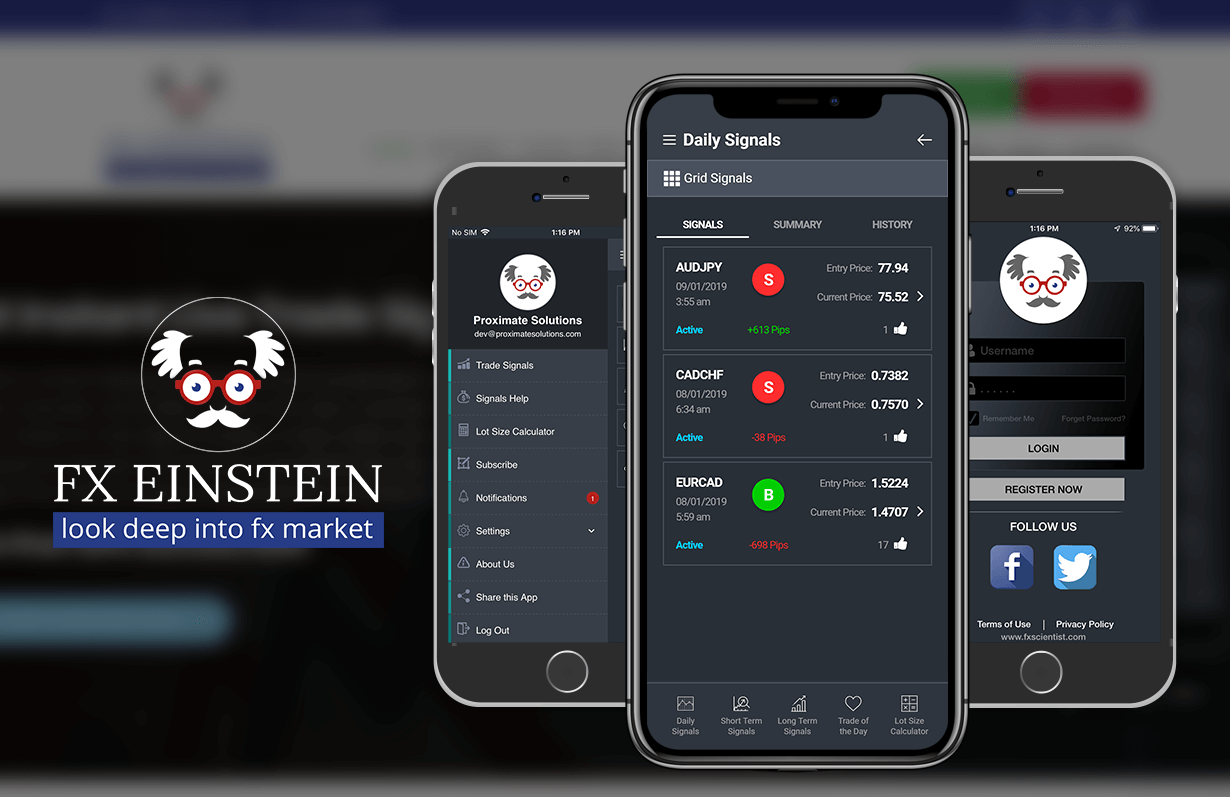
Fx Einstein - Mobile App
Hybrid App with Web based control panel. Android and iOS versions. Push Notifications and lot of other features.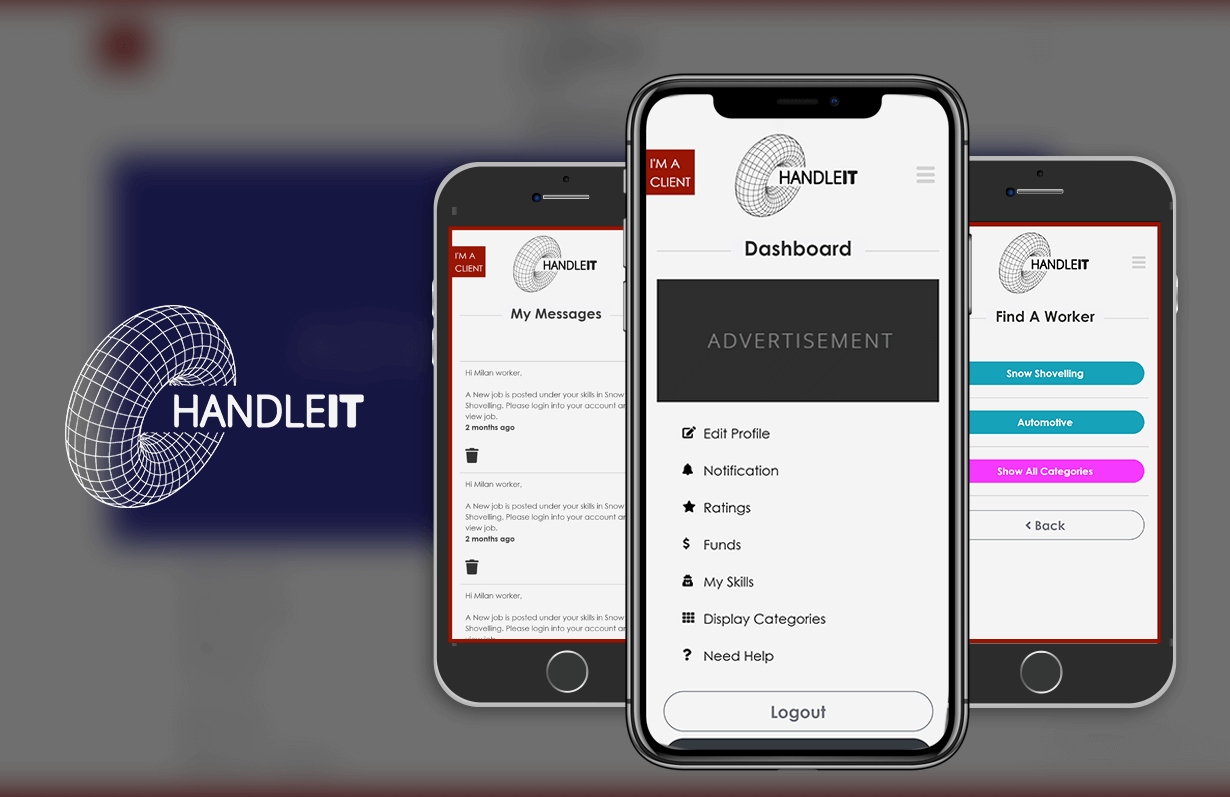
HandleIT - Mobile App
Hybrid App with Web based control panel. Android and iOS versions. Push Notifications and lot of other features.
Burj Al Falah - Mobile App
Hybrid App with Web based control panel. Android and iOS versions. Push Notifications and lot of other features.
Select Arms - Print & Packaging Design

AGM - Social Media Banners
Torch - Social Media Banners
Sarina Flooring - Social Media Banners